Are you looking for an interesting project to work on this summer? Why not build a mini hydroplane boat? This fun and easy project can be completed in just a few hours, and it doesn’t require any special tools or materials. In fact, you may already have everything you need right in your backyard.
With 3 minutes reading the article, Todd Vogel will answer you the question “How to build a mini hydroplane boat? 3 point hydroplane plans” and more relevant information. Let’s find out together!
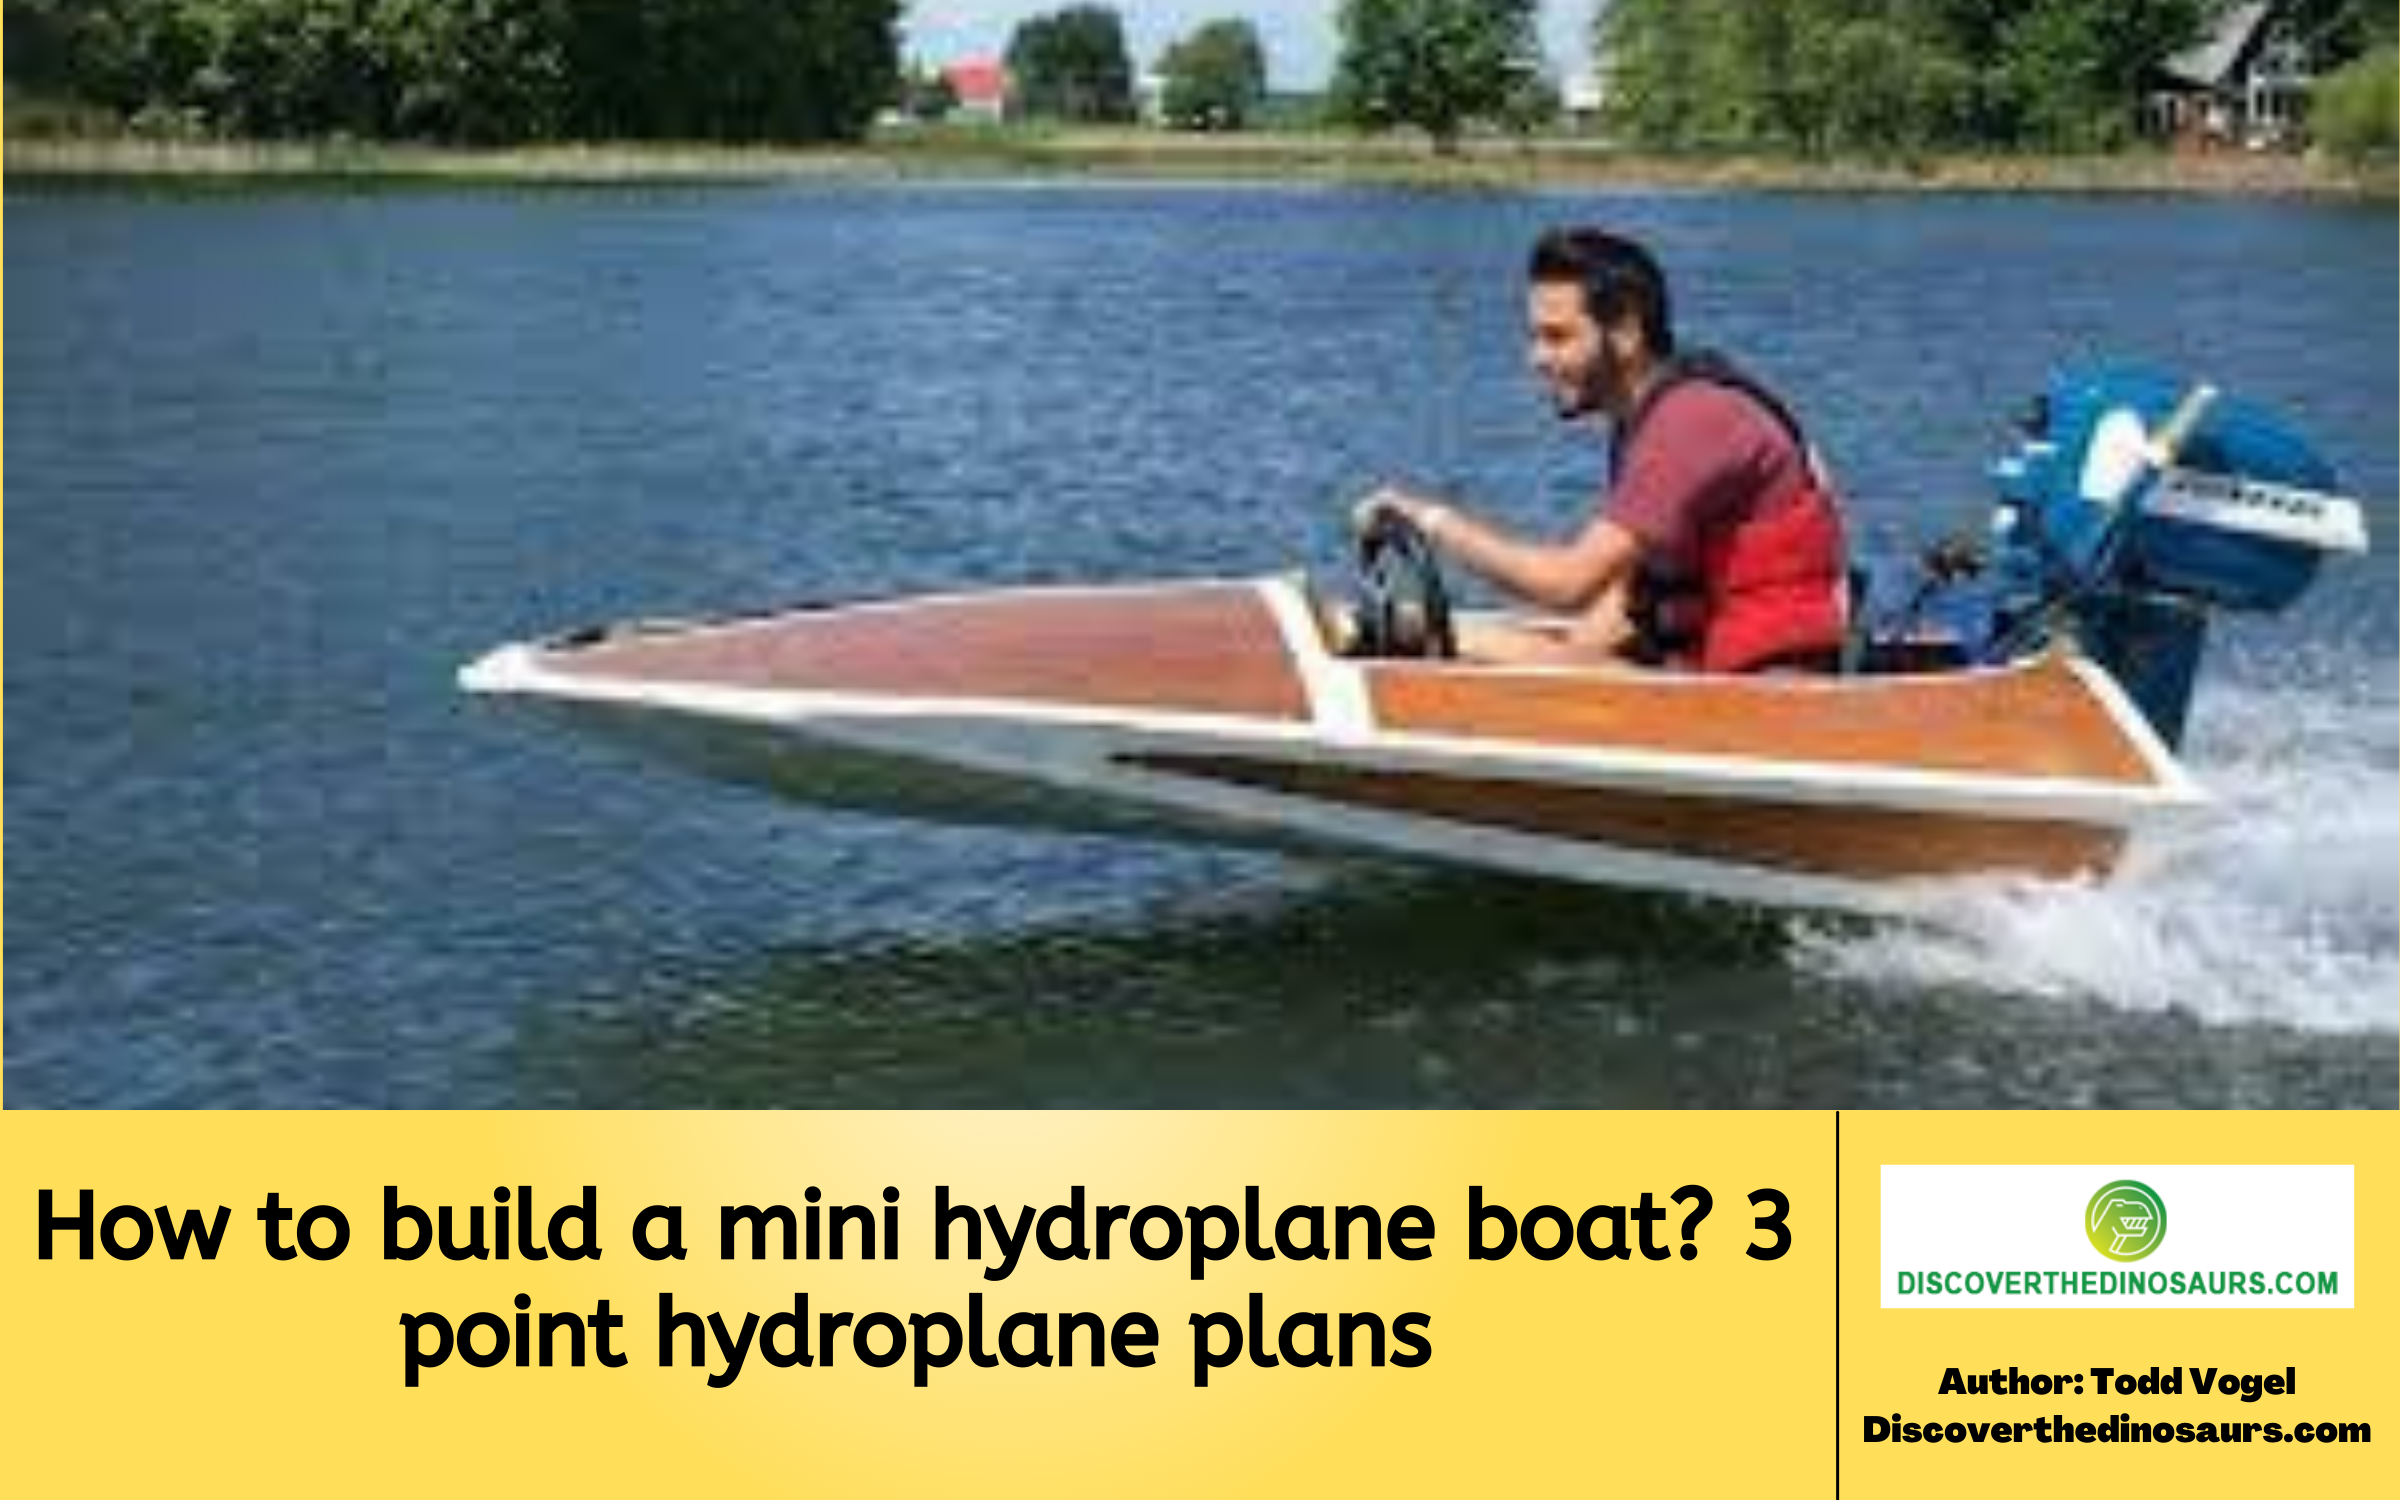
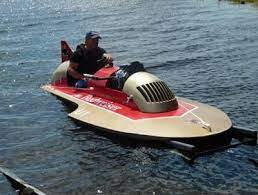
How to build a mini hydroplane boat? 3 point hydroplane plans
So get started today and be ready to hit the water by summer’s end!
Beginning construction on your scaled-down hydroplane
Beginning construction on your scaled-down hydroplane
This is a big project, but it’s one that you can complete with some elbow grease and the right materials. Before you get started, it’s important to have a clear understanding of the steps involved in building a mini hydroplane boat. This guide will walk you through the basics of how to construct a mini hydroplane, from start to finish.
1. Choose your plans and gather your materials. The first step is to select blueprints or build instructions for your project. Once you have your plans, it’s time to collect the necessary supplies and materials. Be sure to have all of the following on hand before beginning construction:
-Scaled-down hydroplane plans
-Balsa wood sheets
-Plywood
-Boatbuilding resin
-Fiberglass cloth
-Paint
-Sandpaper
2. Cut out the pieces for your hull. The hull is the main body of the boat, and it needs to be created before any other construction can begin. With your plans in hand, use a sharp knife or hobby saw to cut the balsa wood and plywood pieces that will make up the hull. Be as precise as possible when cutting, as even small inaccuracies can cause big problems later on.
3. Assemble the hull pieces. Once all of the individual hull pieces have been cut out, it’s time to start assembling them into a single structure. Begin by applying a layer of boatbuilding resin to one of the hull pieces, then attach a piece of fiberglass cloth to it. Continue adding layers of resin and cloth until all of the hull pieces are bonded together.
4. Finish up the hull. Once the hull is assembled, you can start working on the details. Smooth down any rough edges with sandpaper, then add any final touches like painting or decals.
5. Attach the engine and propeller. The last step in building your mini hydroplane is to install the engine and propeller. First, mount the engine to the back of the hull using boatbuilding resin or another strong adhesive. Then, attach the propeller to the shaft of the engine. Make sure that both the engine and propeller are securely in place before taking your hydroplane out for a spin!
Constructing the framework of the hydroplane
Constructing the framework of the hydroplane
1. Select the dimensions of the hydroplane. The length and width of the hydroplane will be determined by the size of the engine.
2. Cut out the plywood pieces for the fuselage, floatation chambers, and bulkheads according to the dimensions chosen in step 1. Be sure to use a sharp knife or hobby saw to avoid any inaccuracies.
3. Assemble the pieces of the fuselage using boatbuilding resin or another strong adhesive. Begin by attaching the sides of the fuselage to the bottom piece, then add the bulkheads one at a time until all of them are in place.
4. Install the floatation chambers within the fuselage. Each chamber should be placed behind a bulkhead and filled with a material that will provide buoyancy, such as Styrofoam or polystyrene.
5. Add the decking to the top of the fuselage. Cut the decking pieces to size and attach them using boatbuilding resin or another strong adhesive.
6. Install the engine mounts on the back of the hydroplane. The engine mounts will be used to secure the engine to the hydroplane later on.
7. Attach the rudder and keel to the back of the hydroplane. The rudder is used for steering, while the keel provides stability and prevents tipping.
8. Finish up any details on the hydroplane, such as painting or decals. Once all of the major components are in place, you can add any final touches to your hydroplane.
9. Install the engine and propeller. The last step is to install the engine and propeller. First, mount the engine to the back of the hull using boatbuilding resin or another strong adhesive. Then, attach the propeller to the shaft of the engine. Make sure that both the engine and propeller are securely in place before taking your hydroplane out for a spin!
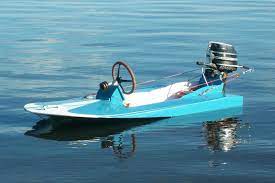
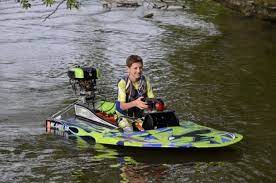
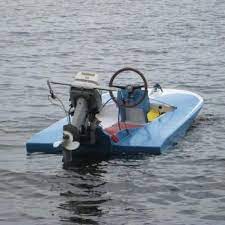
10. Your mini hydroplane is now complete! Enjoy taking it for a spin around the pond or lake. Be sure to take precautions while operating the hydroplane, such as wearing a life jacket and avoiding areas with high traffic.
Utilizing both the base and the deck
Utilizing both the base and the deck
Start by screwing in the engine mounts at the back of where the engine will be placed. It is important to make sure that these are secure and unlikely to come loose when the engine is running at full power. Next, do the same with the rudder and keel at the back of where they will be placed.
The rudder is responsible for steering, while the keel provides extra stability to prevent tipping. Finish up any details on the hydroplane such as painting or adding decals. This is also a good time to add any final touches, such as seats or cup holders.
Now it’s time for the fun part- installing the engine and propeller! First, mount the engine onto the back of the hydroplane using boatbuilding resin or another strong adhesive.
Make sure that it is placed in the middle of the engine mounts and level with them. Next, take the propeller and attach it to the shaft of the engine. It is important to make sure that both the engine and propeller are securely in place before taking your hydroplane out for a spin!
Your mini hydroplane is now complete! Enjoy taking it for a spin around the pond or lake. Be sure to take precautions while operating the hydroplane, such as wearing a life jacket and avoiding areas with high traffic.
Complete the finishing touches on your miniature hydroplane
Complete the finishing touches on your miniature hydroplane
These final steps will ensure that your boat is ready to take on the water.
1. Install the engine and propeller. The last step is to install the engine and propeller. First, mount the engine to the back of the hull using boatbuilding resin or another strong adhesive. Then, attach the propeller to the shaft of the engine. Make sure that both the engine and propeller are securely in place before taking your hydroplane out for a spin!
2. Your mini hydroplane is now complete! Enjoy taking it for a spin around the pond or lake. Be sure to take precautions while operating the hydroplane, such as wearing a life jacket and avoiding areas with high traffic.
3. Complete any final details, such as painting or adding decals.
4. Add any final touches to your hydroplane, such as seats or cup holders.
5. Install the engine mounts on the back of the hydroplane. The engine mounts will be used to secure the engine to the hydroplane later on.
6. Attach the rudder and keel to the back of the hydroplane. The rudder is used for steering, while the keel provides stability and prevents tipping.
7. Finish up any details on the hydroplane, such as painting or decals. Once all of the major components are in place, you can add any final touches to your hydroplane.
8. Your mini hydroplane is now complete! Enjoy taking it for a spin around the pond or lake. Be sure to take precautions while operating the hydroplane, such as wearing a life jacket and avoiding areas with high traffic.
Conclusion
When building a mini hydroplane boat, it is important to follow the instructions carefully. If you do not have experience with boats or construction, it is best to enlist the help of someone who does.
By taking your time and being careful, you can create a beautiful and functional mini hydroplane boat that will provide hours of enjoyment on the water. Have you ever built a mini hydroplane? What challenges did you encounter along the way?
This discoverthedinosaurs.com post will show the information about “How to build a mini hydroplane boat?”
- how to build a mini boat
- mini hydroplane boat plans
- mini hydroplane boat for sale
- 3 point hydroplane plans
- hydroplane boat plans free
- pickle fork hydroplane boat plans
- vintage hydroplane racing boats
- 12 foot hydroplane plans


