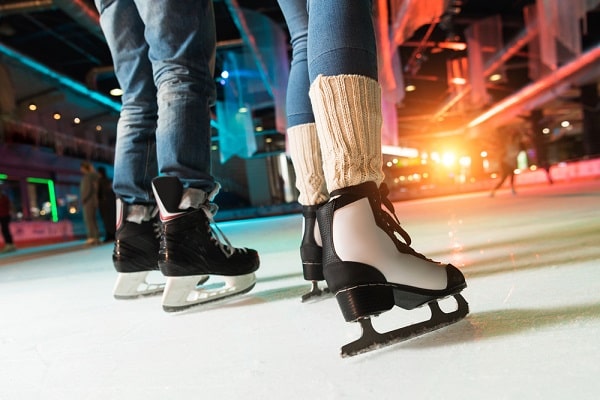
Ice hockey skaters know that baking their skates is a necessary part of the maintenance process, but it can be difficult to know how to do this properly.
Not baking your ice hockey skates can lead to decreased performance and even injuries.
By following our simple guide by Todd Vogel on how to bake ice hockey skates at home, you’ll be able to keep your skates in great condition for years to come.
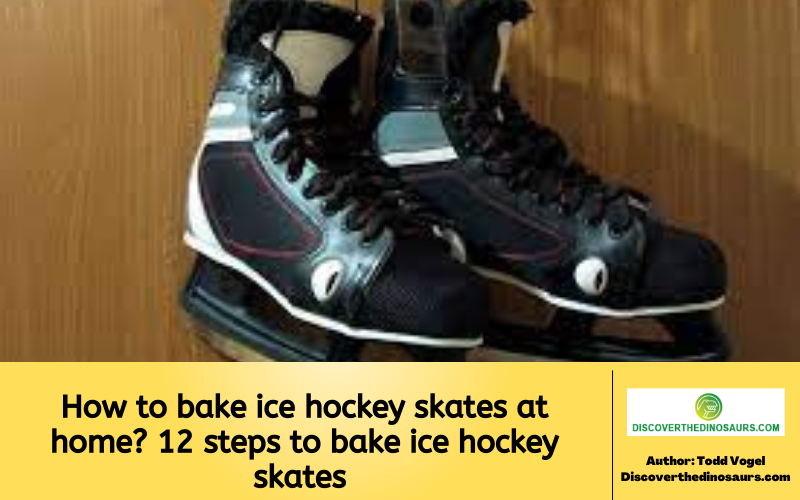
How to bake ice hockey skates at home 12 steps to bake ice hockey skates
Is it necessary to bake ice hockey skates at home?

Is it necessary to bake ice hockey skates at home?
This is a question that often plagues hockey players and parents alike. The answer, unfortunately, is not a cut and dry one. It really depends on a few factors, such as the age of the skater, the level of play, and how often the skates are used.
That said, baking your ice hockey skates at home can be a great way to ensure they fit properly and remain comfortable throughout the season. It’s also a good way to avoid costly trips to the rink for professional skate baking services.
If you’re considering baking your ice hockey skates at home, here is our step-by-step guide to consult. Continue reading to check it out!
12 Steps to bake ice hockey skates at home
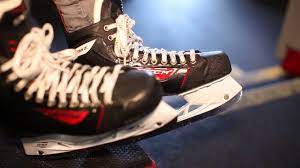
12 Steps to bake ice hockey skates at home
- Preheat your oven to 275 degrees Fahrenheit.
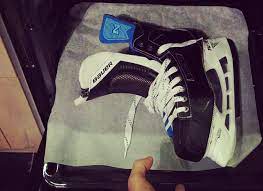
- Remove the laces from your skates and set them aside.
- Place your skates on a baking sheet lined with parchment paper or aluminum foil.
- Bake your skates for 10-15 minutes, or until they are soft to the touch.
- Remove your skates from the oven and allow them to cool for a few minutes.
- While your skates are cooling, put your laces back in.
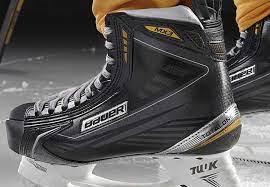
- Once your skates are cool enough to handle, put them on and tighten the laces.
- Walk around in your skates for a few minutes to help mold them to your feet.
- Remove your skates and place them back on the baking sheet.
- Bake your skates for an additional 5-10 minutes.
- Remove your skates from the oven and allow them to cool completely before using them on the ice.
- Enjoy your improved skating performance!
Things to keep in mind when baking ice hockey skates at home
Things to keep in mind when baking ice hockey skates at home
- Baking your skates will make them softer and more pliable, so be careful not to overdo it.
- Keep an eye on your skates while they’re in the oven and remove them as soon as they’re soft to the touch.
- Allowing your skates to cool completely before using them is important, as you don’t want to risk damaging them.
- If you’re not happy with the fit of your skates after baking them, you can always bake them again.
You don’t want to bake your ice hockey skates?
You don’t want to bake your ice hockey skates?
Maybe you’re just learning and have purchased a pair of beginner skates, which are not recommended for heat molding. In this case, you can still break them in at home without baking them. There are a few different methods you can try:
Wear them around the house
Wear them around the house
This is probably the most low-tech solution, but it works. Put on a pair of thick socks and skate around your house for a bit each day. After a week or two, your skates should be much more comfortable.
Use a hairdryer
If you don’t want to bake your skates, you can use a hairdryer to break them in. Just put on a pair of thick socks and direct the hot air from the hairdryer towards the inside of the skate. Again, do this for a few minutes each day until the skates are broken in.
Use a skate stretcher
A skate stretcher is a tool that you can use to stretch out your skates. This is a good option if you have wide feet or you’re having trouble getting the skates on and off. You can purchase a skate stretcher online or at most sports stores.
Whichever method you choose, just be patient and give it some time. Breaking in new skates can be a bit of a process, but it’s worth it when you finally get to hit the ice in a brand new pair of skates.
F.A.Q how to bake ice hockey skates at home
Can I bake my hockey skates at home?
Yes, you can bake your hockey skates at home. However, it is important to keep a few things in mind in order to ensure that the skates come out correctly. First, be sure to preheat the oven to the correct temperature before placing the skates inside. Second, cut the laces carefully so as not to damage the leather of the skate. Finally, use a hairdryer on the inside of the skate once they have been removed from the oven in order to prevent moisture build-up.
Can you bake hockey skates in your oven?
Yes, you can bake hockey skates in your oven. However, it is important to keep a few things as mentioned above in mind in order to ensure that the skates come out successfully.
How do you bake true skates at home?
Fortunately, you can bake them, because baking skates allows the material to soften and mold around your foot. It’s also a good way to avoid costly trips to the rink for professional skate baking services.
How do you break in hockey skates in the oven?
Breaking in hockey skates in the oven is a bit different than baking them. First, you need to preheat the oven to a lower temperature than you would for baking. Next, put the skates on a baking sheet and place them in the oven for 15-20 minutes. Finally, remove the skates from the oven and use a hairdryer on the inside of the skate to prevent moisture build-up.
Conclusion
Although baking ice hockey skates at home is not a common practice, it can be an effective way to maintain and improve the quality of your skates. By following the simple steps in this article, you can bake your ice hockey skates to help them last longer and perform better on the ice.


