For those interested in working with Kydex, cutting Kydex and making a Kydex sheath or holster will be helpful.
Suppose you have not had any Kydex or probably do not know about it.
Let’s see my article!
My experience working with Kydex is somewhat limited, I still can share several tips and hints for you, don’t worry!
Kydex is a type of tough and durable polymer that has become increasingly popular for gun holsters, knife sheaths, and other applications.
Until now, it has been difficult to cut kydex without ruining the material.
But thanks to a new method developed by two engineers at Clemson University, it is now possible to cut kydex without damaging the material.
There is no one definitive answer to the question of how to cut kydex, as it depends on the specific material and the desired outcome.
However, there are some general tips that can help you get started.
First, use a sharp knife to slice the kydex into thin strips.
Second, make sure your tool is sharp and steady as you move it across the material.
What is Kydex?
Kydex is thermoformed plastic; that plastic will become pliable and malleable when heated. When the plastic is in that condition, it’s formed around a mold or other hard object. When it gets cool, it will take the shape of its mold.
Kydex is typically heated to between 275 and 300 degrees to get it to the condition where it is pliable enough to form.
Kydex is just a brand name; they come in some standard thicknesses.
How Can I Make with Kydex Materials?
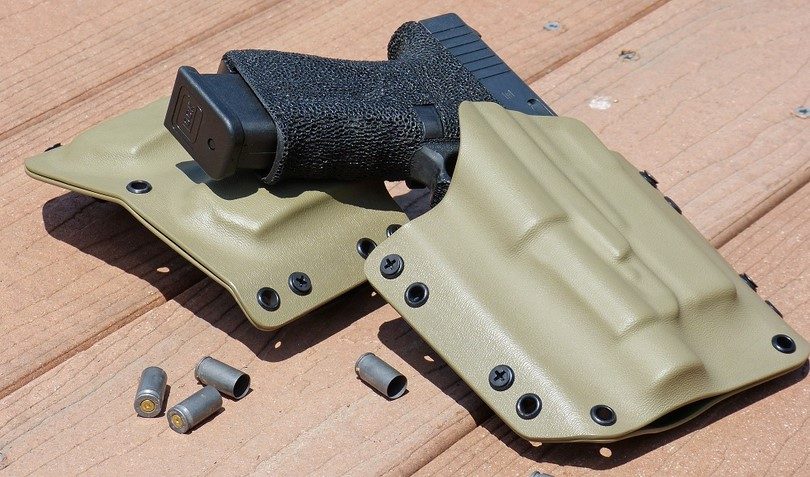
You can do so many things with Kydex; the most common thing is making holsters for firearms, magazine carriers for rifle magazines or pistol magazines, carriers for cell phones, flashlight holsters, and knife holsters.
How to Cut Kydex?
You will find all the ways to cut Kydex and efficiently.
Firstly, you prepare the Clicker, Kydex, the dimensions, and the die for a sample as video. Then put the dye on the top of the slide and everything into the machine to activate it. Finally, you will have what you want in a second.
How To DIY with Kydex?
If you want to make something by yourself with Kydex, this part will be helpful for you. You do not need to buy an arbor press or some special tools; you can get your job done with some tools that you already have.
What Tools Do We Need?
Hammer, Heat gun, Drill, Hack saw, belt sander, vice or some clamps, two pcs of plywood, heat resistant gloves, rivet flaring eyelet die, sheath making foam.
What Materials Are Needed?
Kydex sheeting, different sizes, thicknesses, Rivets, Screws, Belt/web, fear mounting hardware.
How to Start?
Firstly, you should make the molding blocks for forming the Kydex around the knife. Then glue 2 pcs of sheath-making foam to the plywood, allow it to dry.
Then, you should decide if you need to make the sheath from 2 pcs of Kydex or a piece wrapped around the knife blade. Using pcs wrapped around the blade is the simple way to do it, and it will make the sheath narrower and lower profile sheath. However, it might leave less material for mounting hardware.
If the knife is large, you should use two pcs of Kydex riveted on each side of the blade to give it a more stable mounting.
Wrap-around
For this style, lay your knife flat on the Kydex about 1” from the edge and roll the knife over once. After that, add another inch. It will provide the proper width of Kydex to wrap around the bale and leave some extra screw-up material.
Take a pcs of Kydex and lay it flat on the workbench. It would help if you had the C-clamps and Foam press in the arms reach. Then use the heat gun to heat the Kydex until it becomes pliable. Just hold the heat gun from 4-6” away from Kydex and fan it over the surface. When the Kydex is floppy, then it is ready to mold.
Lay the knife on surfaces with the blade’s spine in the center when Kydex is pliable, then fold the Kydex over the blade.
Molding
With the hot Kydex, sandwich the knife between the foam molds and clamp the whole unit down tight. Then you can remove the sheath from the model after 10”. Check the blade is secure but not difficult to remove from the sheath. You should remember that the sheath will tighten up when adding rivets.
Nextly, drill the holes for rivets and mount hardware. Finally, you can use a saw and shape the sheath to your liking for cutting the excess Kydex.
Rivets
You can add the rivets and use the flaring die, which is self-explanatory. Just do not forget when setting the rivets one good tap with the hammer on the die, which is better than taps. There are some choices for Molle or belt mounting hardware consisting of making your own out of another pcs of Kydex; it is where the screws come in handy.
To make the sheath, you can use two pcs of Kydex. The process is much the same as above, and you should be careful when modding as the two pcs will shift while you clamp them over.
Conclusion
Hopefully, you can enjoy my experience of cutting and making something with Kydex!

